How to Restore Old Photos with AI: A Complete 2026 Guide
Learn how to restore old photos with AI step by step: scan the print, fix scratches, tears and fading, sharpen faces, colorize and export for print.
By Ayoub Farid · · 5 min read
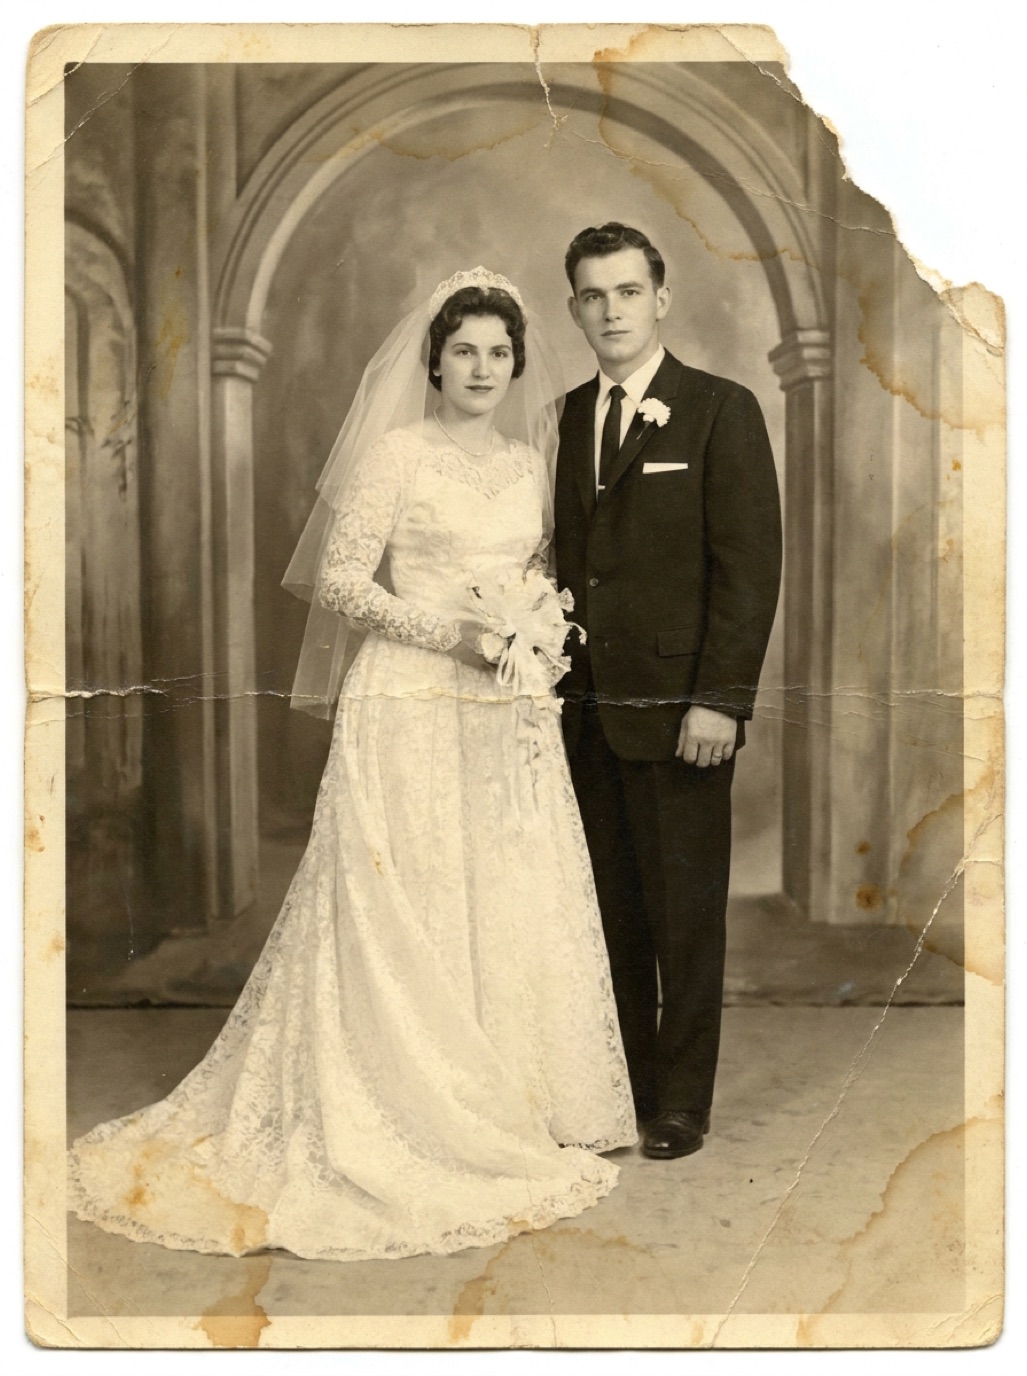
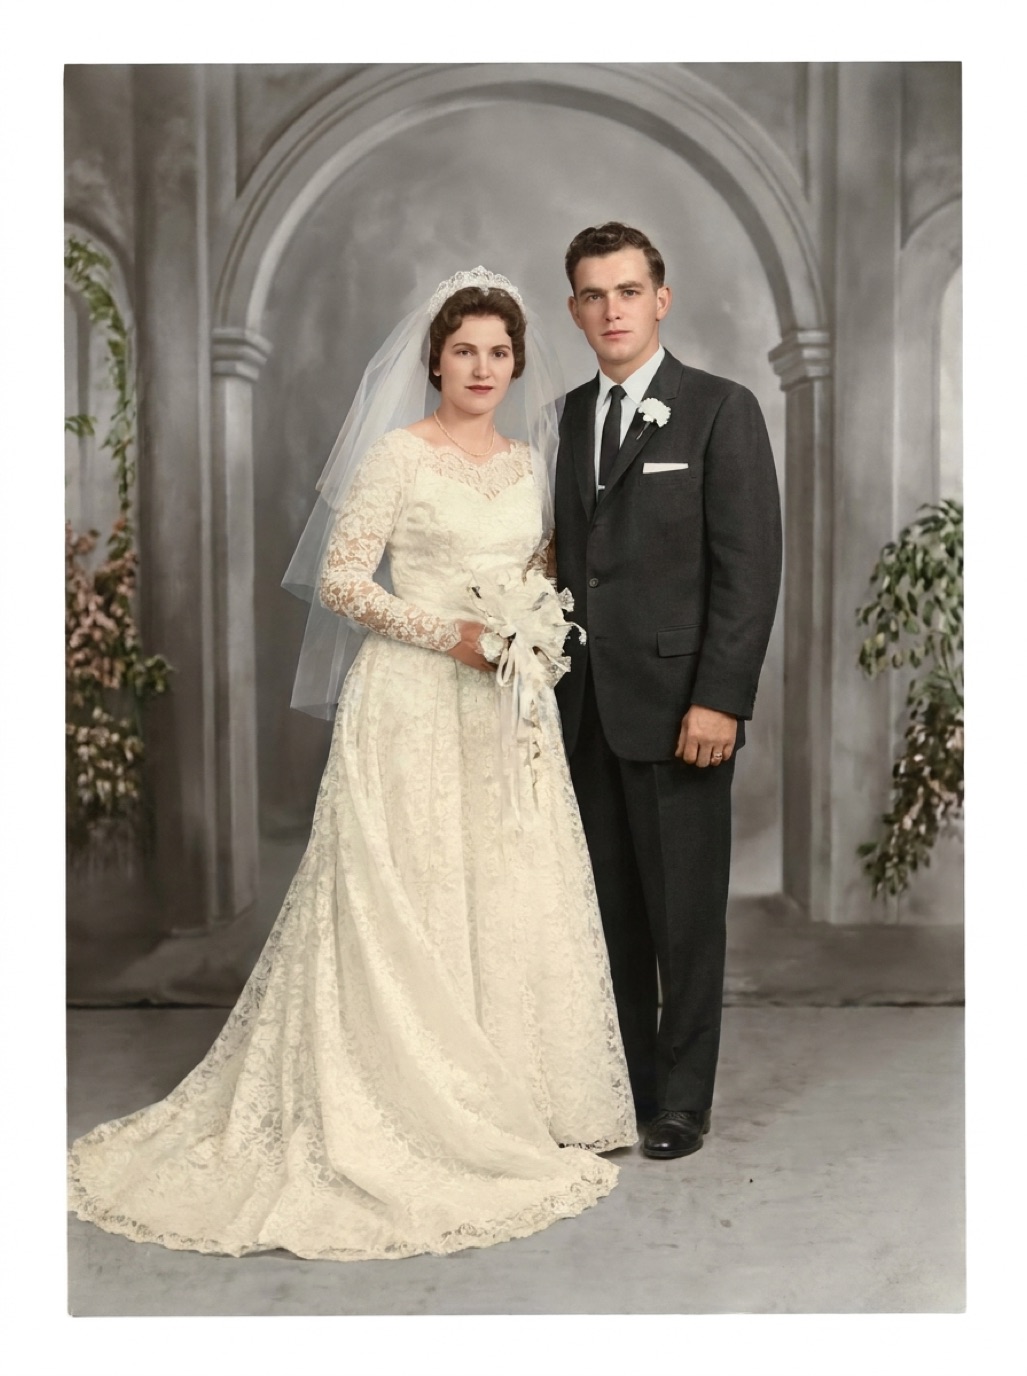
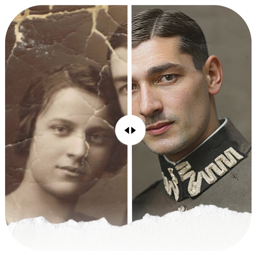
Almost every family has a shoebox of photos that are slowly disappearing: prints that have faded to a pale orange, wedding pictures with a crease straight through the bride, school portraits with water stains in one corner. Ten years ago, fixing them meant paying a retoucher by the hour or learning Photoshop. Today an AI photo restoration app can do most of that work in seconds.
This guide walks through the whole process, from the print in your hand to a restored file you can share or frame, and explains what AI does well and where you still need to use your own judgement.
What "restoring" an old photo actually means
Photo restoration is a mix of several repairs. A single old print usually needs more than one:
- Damage removal: scratches, dust, cracks, creases, tears and stains.
- Tone and color correction: fixing yellowing, orange or magenta color casts and lost contrast.
- Detail recovery: sharpening soft or blurry faces and textures, reducing film grain and noise.
- Reconstruction: filling in small missing areas, such as a torn-off corner.
- Colorization (optional): adding natural color to a black and white or sepia photo.
Traditional retouchers do each of these by hand. AI restoration models were trained on millions of damaged and clean image pairs, so they can recognize "this is a scratch, not a strand of hair" and repair all of it in one pass. We explain the technology in more depth in how AI photo restoration works.
Step 1: Get the best possible digital copy
The restoration can only be as good as the input. Before you open any app:
- Clean the print gently with a soft, dry brush or microfiber cloth. Never use water or glass cleaner.
- Use soft, even light. Daylight near a window, without direct sun, works well. Avoid overhead lamps that create glare.
- Shoot straight on. Hold the phone parallel to the photo so the edges are not skewed, and fill the frame.
- Remove the photo from glass frames or plastic sleeves if you can do it safely; reflections are hard to remove later.
If you have a flatbed scanner, 600 dpi is a good default for standard prints (see our guide to the best DPI for scanning photos). A careful phone photo is fine for most family pictures, and we cover the technique in how to scan photos with your iPhone.
Step 2: Run the AI restoration
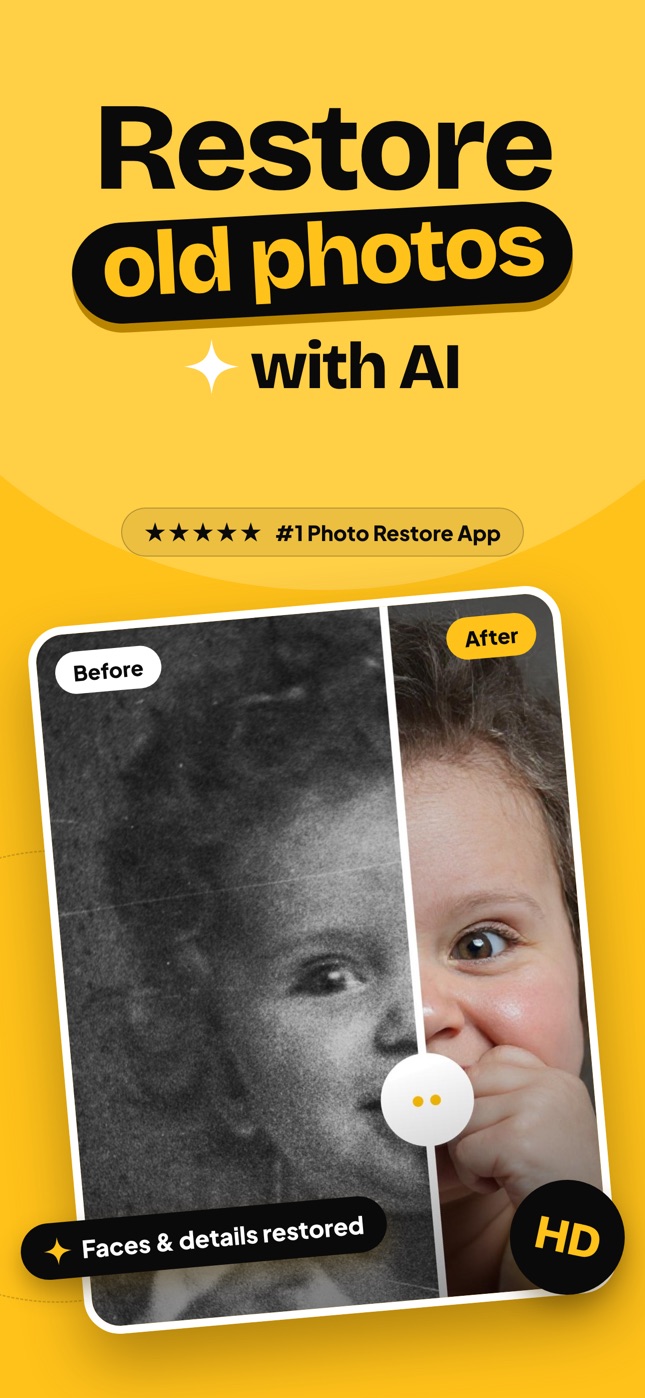
With Refixo, the process is three taps:
- Choose the photo from your library, or take a picture of the print with the in-app camera.
- Tap Restore. The AI removes scratches and noise, repairs damage, enhances faces and corrects colors and contrast.
- Drag the slider to compare before and after.
Restoration takes a few seconds. You do not need to choose filters, masks or brush sizes.
Step 3: Check the result carefully
AI is impressive, but it is still reconstructing information. Before you share the result, compare it with the original and look at:
- Faces: do eyes, teeth and expressions still look like the real person? Heavily damaged faces are the area where AI is most likely to guess.
- Text and small details: signs, medals, jewelry and patterns can be simplified.
- Edges: torn borders and corners should blend naturally into the background.
If something looks off, try a better scan of the original, crop out a badly damaged border, or restore the photo again from a cleaner copy. Our article on whether AI photo restoration is accurate covers this in detail.
Step 4: Colorize (if it suits the photo)
Black and white photos can be colorized for a striking result, but it is a creative choice, not a correction. Many families keep both versions: the original monochrome for the archive and a colorized copy to share. Read our guide to colorizing black and white photos before you decide.
Step 5: Save, share and back up
Save the restored version to your Photos library in full quality. Refixo keeps every restore in its History screen, so you can come back to it later, and restored photos have no watermark. Then:
- Keep the original scan too. Never overwrite it with the restored version.
- Back up both to a cloud service and one physical drive.
- If you plan to print, check the resolution first (our guide to restoring photos for printing explains sizes).
What AI restoration can't do
- It cannot recover a face that is completely missing; it can only invent a plausible one.
- It cannot make a tiny, low-resolution thumbnail look like a large-format negative.
- It doesn't replace conservation of the physical print. Store originals properly (see how to store old photos).
Which approach is right for you?
| Situation | Best option |
|---|---|
| Faded, scratched or slightly torn family photos | AI restoration app |
| Dozens or hundreds of photos | AI app, after scanning in batches |
| Museum piece or a photo with a large missing area | Professional retoucher, possibly with AI as a first pass |
| Original glass plate, tintype or daguerreotype | A conservator first, then digital restoration of the scan |
For a side-by-side comparison of tools, see the best photo restoration apps and AI vs professional photo restoration.
Frequently asked questions
How long does it take to restore an old photo with AI?
The restoration itself takes a few seconds per photo. Most of the time goes into getting a clean, well-lit scan of the print.
Can I restore old photos for free?
Many tools offer a free trial or a limited number of free restores. Refixo is free to download with a 3-day free trial. See restore old photos free for the options and their trade-offs.
Will restoration damage my original photo?
No. AI restoration works on a digital copy. The physical print is never touched, as long as you handle it carefully while scanning.
Should I restore or colorize first?
Restore first. Removing scratches, stains and color casts gives the colorization a clean base and produces more natural colors.
Restore it in seconds
Bring your old photos back to life
Refixo's AI removes scratches, tears and stains, sharpens faces and colorizes black & white photos in seconds. Free to download on iPhone and iPad, with a 3-day free trial.
Download on theApp Store