
10 Photo Restoration Mistakes That Ruin Old Family Photos
Avoid the most common photo restoration mistakes: bad scans, overwriting originals, over-processing faces, wrong storage and more, with simple fixes.
By Ayoub Farid · · 2 min read
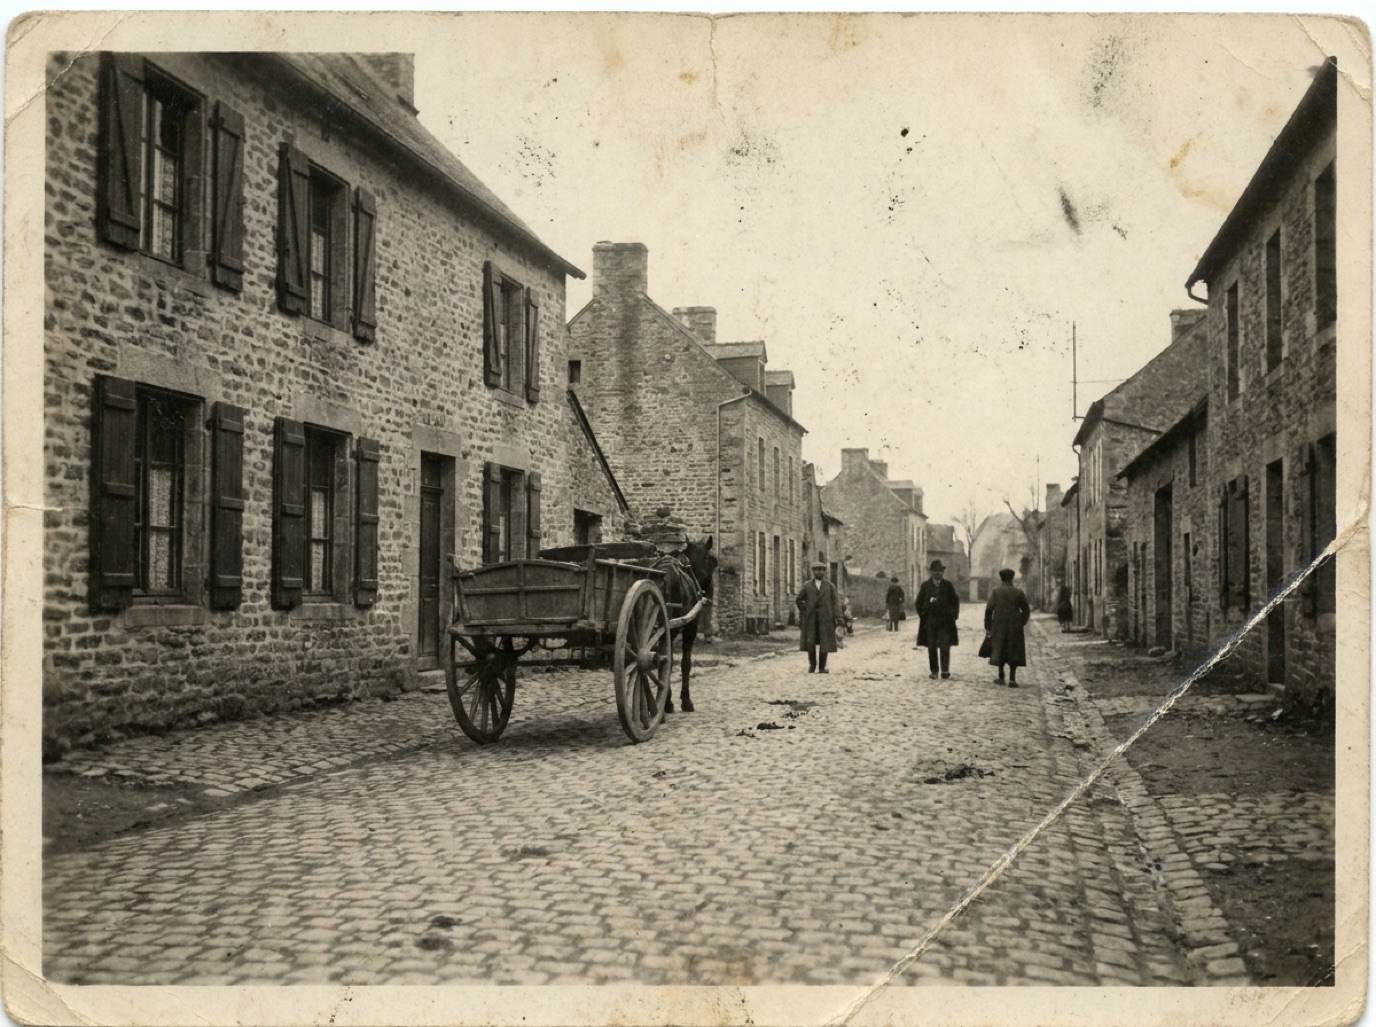

Restoring old photos has never been easier, but a few common mistakes can still damage the originals, produce disappointing results or lose the files altogether. Here are ten to avoid.
1. Cleaning prints with water or chemicals
Glass cleaner, wet wipes and even plain water can dissolve or stain photographic emulsion. Use only a soft brush or a dry microfiber cloth, and only on stable prints. See how to handle old photos.
2. Forcing photos out of sticky albums
Pulling prints from "magnetic" albums can tear them. Use dental floss or a thin spatula, slowly, or scan them in place. Our guide to removing photos from magnetic albums explains how.
3. Scanning with glare and shadows
Overhead lights and phone flashes create hot spots that no restoration can remove cleanly. Use soft side light and keep the phone parallel. See photographing prints without glare.
4. Scanning at too low a resolution
A low-resolution scan limits everything that follows: restoration, colorization and printing. Capture at the highest quality you can. Read best DPI for scanning photos.
5. Overwriting the original file
Always keep the untouched scan. Restored and colorized versions are interpretations; the original is the record. Name files clearly, for example `1962-wedding-original.jpg` and `1962-wedding-restored.jpg`.
6. Running the photo through multiple filters
Applying beauty filters, then sharpening, then another enhancer creates plastic skin and halos. Run one good restoration on the original scan, and redo it from the original if needed, rather than restoring a restored copy.
7. Not checking faces
AI can subtly change features when the original is very small or blurry. Compare carefully and ask relatives who knew the person. See is AI photo restoration accurate?
8. Colorizing before restoring
Color laid on top of scratches and stains looks muddy. Restore first, then colorize. With Refixo, the restoration handles both in the right order.
9. Keeping only one copy
A phone gets lost, a drive fails, a cloud account gets closed. Follow the 3-2-1 rule: three copies, two types of storage, one off-site. See how to back up family photos.
10. Forgetting the story
A restored photo of unknown people is still a mystery. Write down names, places and dates while relatives can still tell you. See how to label old photos.
Quick checklist
- [ ] Prints handled with clean, dry hands
- [ ] Captured in soft light, no glare
- [ ] Highest practical resolution
- [ ] Original file kept untouched
- [ ] One restoration pass from the original
- [ ] Faces checked against the original
- [ ] Backed up in three places
- [ ] Names and dates recorded
Frequently asked questions
Can I fix a photo that was restored badly?
Yes, if you still have the original scan. Start again from the original rather than editing the bad result.
Is it bad to restore a photo multiple times?
Restoring a restored copy compounds artifacts. Always restore from the original scan.
Should I throw away the physical prints after scanning?
No. Keep originals stored properly. They are the ultimate backup and have historical value.
What's the single biggest mistake?
Poor scans. Good light and a steady, parallel capture improve every restoration more than any other step.
Restore it in seconds
Bring your old photos back to life
Refixo's AI removes scratches, tears and stains, sharpens faces and colorizes black & white photos in seconds. Free to download on iPhone and iPad, with a 3-day free trial.
Download on theApp Store