How to Digitize Old Photos: The Complete Family Archive Guide
How to digitize old photos, slides and negatives: choose phone, scanner or service, set up a fast workflow, name and back up files, then restore the best ones.
By Ayoub Farid · · 3 min read
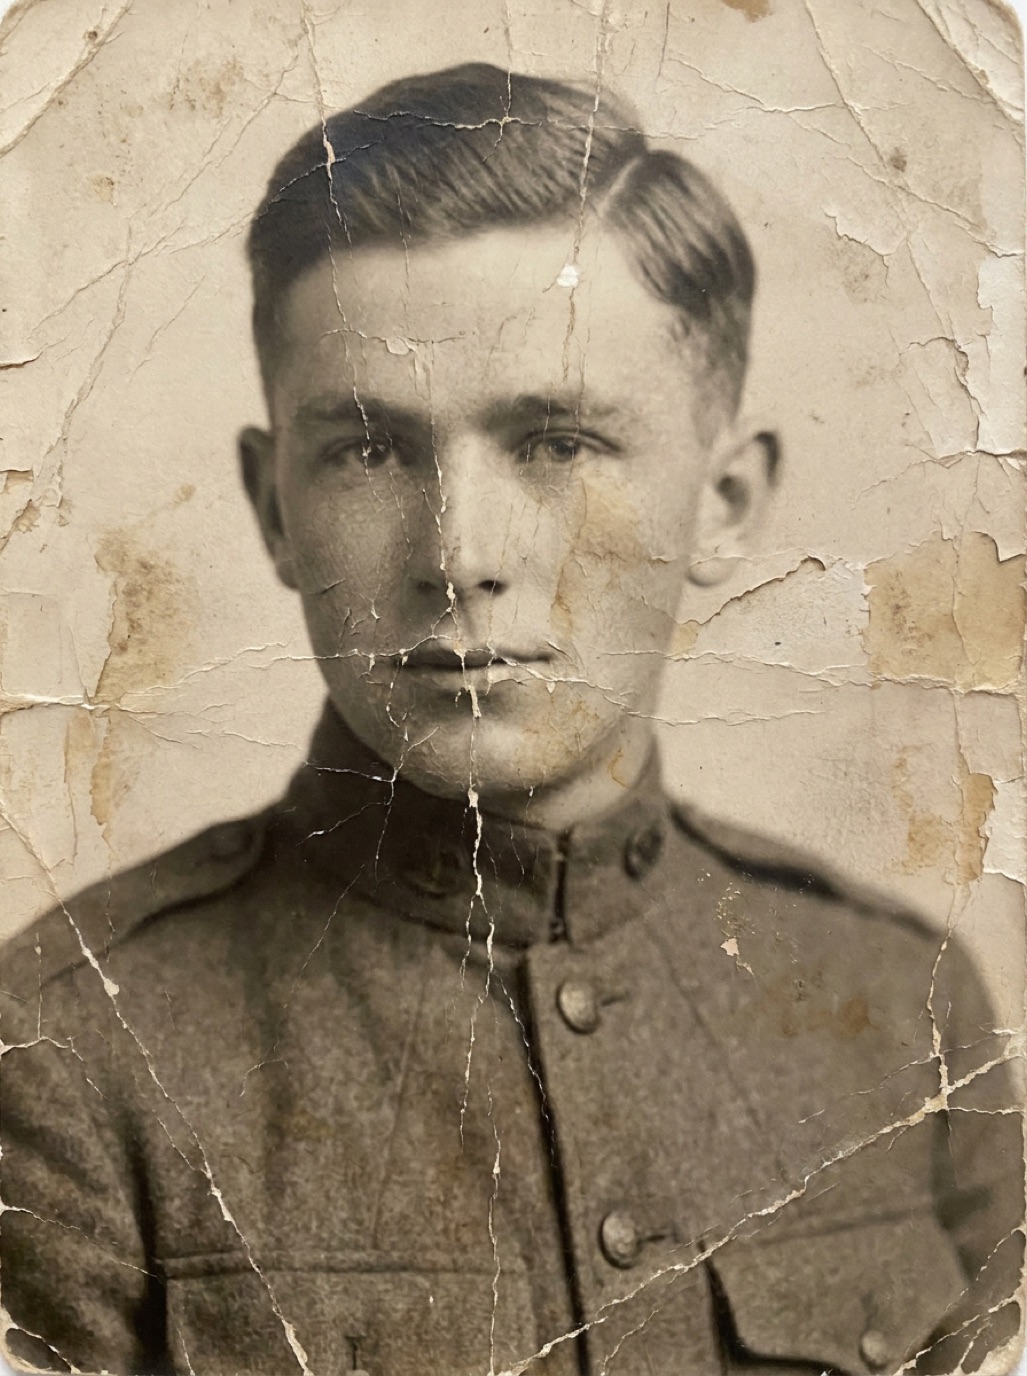

Boxes of prints, albums from three generations, envelopes of negatives, carousels of slides: most families have hundreds or thousands of physical photos and no digital copies. Every year, some fade, get damaged or get lost when a house is cleared. Digitizing them protects the memories, makes them easy to share and lets you restore the damaged ones.
This is our hub guide. It walks through the whole project and links to detailed articles for each step.
Step 1: Gather and sort
- Collect everything in one place, including relatives' albums if they agree.
- Sort roughly by decade or family branch. Don't aim for perfection now.
- Set aside fragile or damaged items (stuck, moldy, cracked) for special handling (see how to handle old photos).
- Decide what to skip: blurry duplicates, landscapes no one can identify, extra copies of the same print.
Be realistic: a selective archive of 800 meaningful photos is better than an unfinished project of 5,000.
Step 2: Choose your capture method
| Method | Speed | Quality | Best for |
|---|---|---|---|
| Phone camera / scanning app | Fast | Good | Most family prints, albums |
| Flatbed scanner | Medium | Excellent | Small prints, important photos, enlargements |
| Film/slide scanner or adapter | Slow | Very good | Negatives and slides |
| Scanning service | No effort | Good to excellent | Very large collections |
Details: how to scan old photos, scanning photos with iPhone, photo scanning service vs DIY, digitizing negatives with your phone.
Step 3: Set up a repeatable workflow
- One spot, near a window, with a dark matte surface.
- Same light and position for every photo.
- Batch by album or envelope, and capture the back of any photo with writing.
- Albums: scan pages if removal is risky (see removing photos from magnetic albums and digitizing photo albums fast).
Step 4: Name and organize files
A simple naming pattern makes the archive usable for decades:
`YYYY-MM_place_people_seq.jpg`, e.g. `1962-06_casablanca_wedding-ahmed-fatima_01.jpg`
Unknown date? Use your best guess with a "c" (circa): `c1950_farm_family_03.jpg`. See labeling old photos and organizing digital family photos.
Step 5: Choose file formats
For most people, high-quality JPEG is fine. If you want archival masters, keep TIFF or PNG for the most important scans. See TIFF vs JPEG for photo archiving.
Step 6: Back up immediately
Follow 3-2-1: three copies, on two kinds of storage, one off-site. See how to back up family photos.
Step 7: Restore the photos that need it
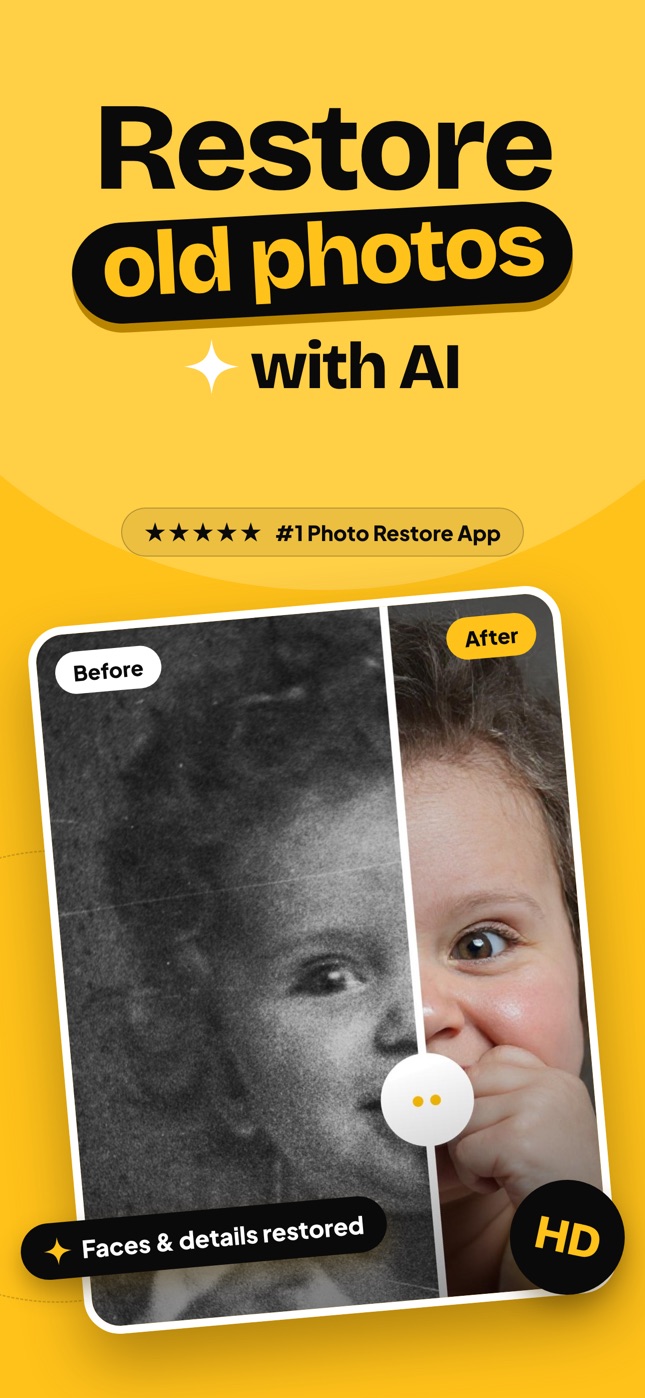
Once digitized, damaged photos can be repaired. With Refixo, you can restore scratched, faded, torn or blurry photos and colorize black and white ones in seconds, then save the restored versions alongside the originals.
Step 8: Store the originals properly
Digitizing doesn't replace the prints. Store them in archival boxes in a cool, dry, dark place (see how to store old photos).
Frequently asked questions
What's the fastest way to digitize old photos?
A phone with a steady setup and good light is fastest for prints. For very large collections, a scanning service saves time.
What resolution should I use?
600 dpi for standard prints, 1200 dpi or more for small prints you may enlarge. See best DPI for scanning photos.
Should I keep the physical photos after digitizing?
Yes. They're the original record and the ultimate backup.
How long does it take to digitize 1,000 photos?
With a good phone setup, a few evenings. With a flatbed scanner, considerably longer.
Restore it in seconds
Bring your old photos back to life
Refixo's AI removes scratches, tears and stains, sharpens faces and colorizes black & white photos in seconds. Free to download on iPhone and iPad, with a 3-day free trial.
Download on theApp Store