How to Scan Old Photos Properly (Scanner and Phone Methods)
How to scan old photos for the best quality: preparing prints, scanner settings and dpi, phone capture technique, glare and color tips, and saving files.
By Ayoub Farid · · 2 min read
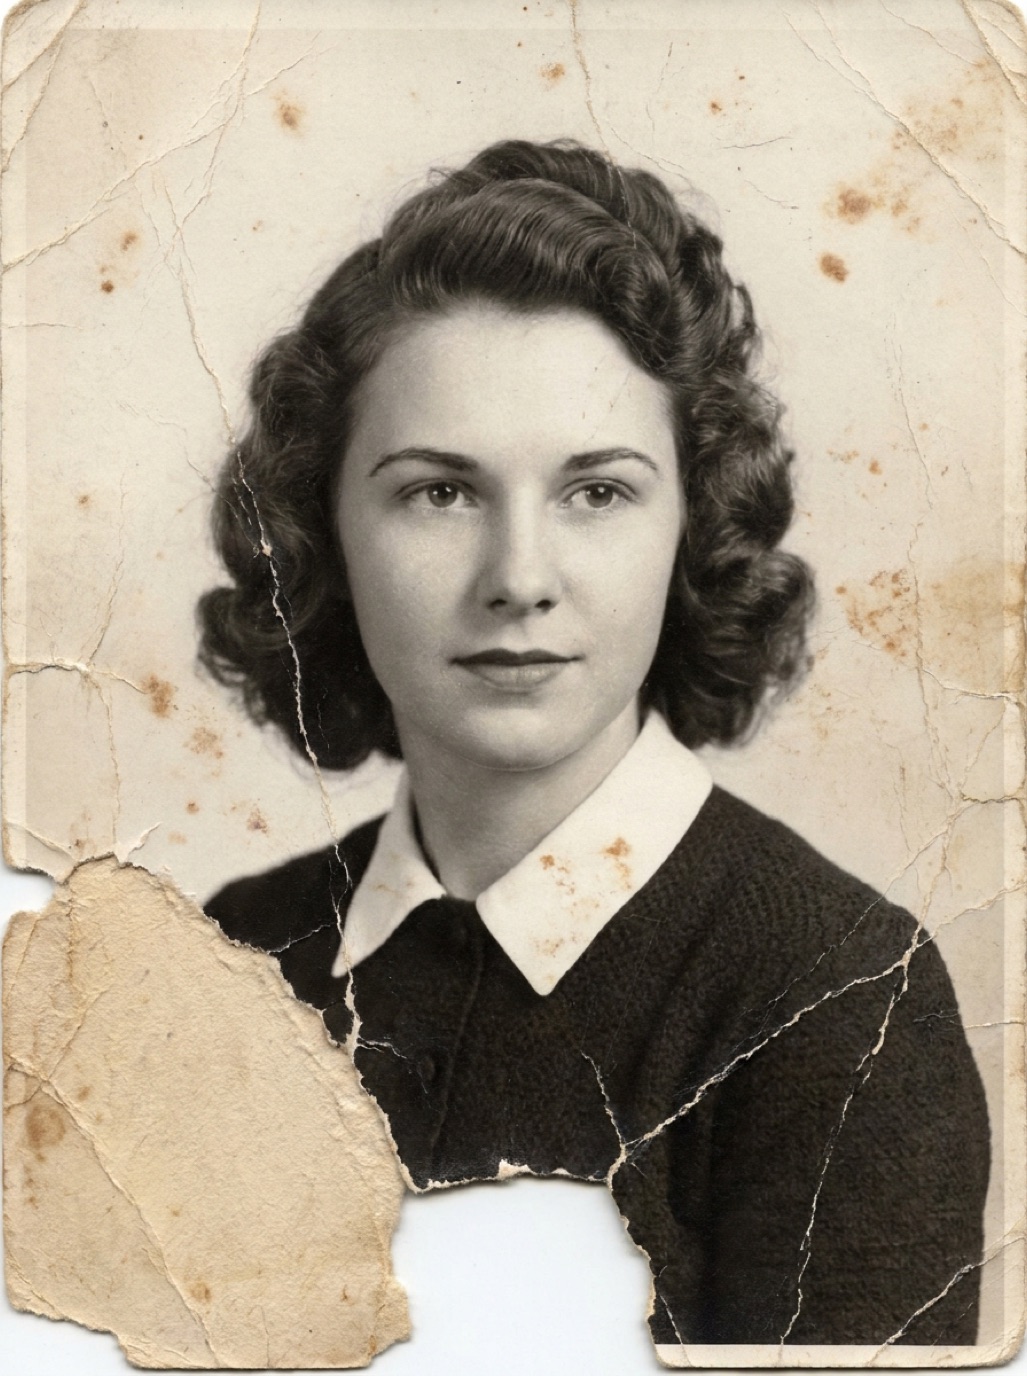
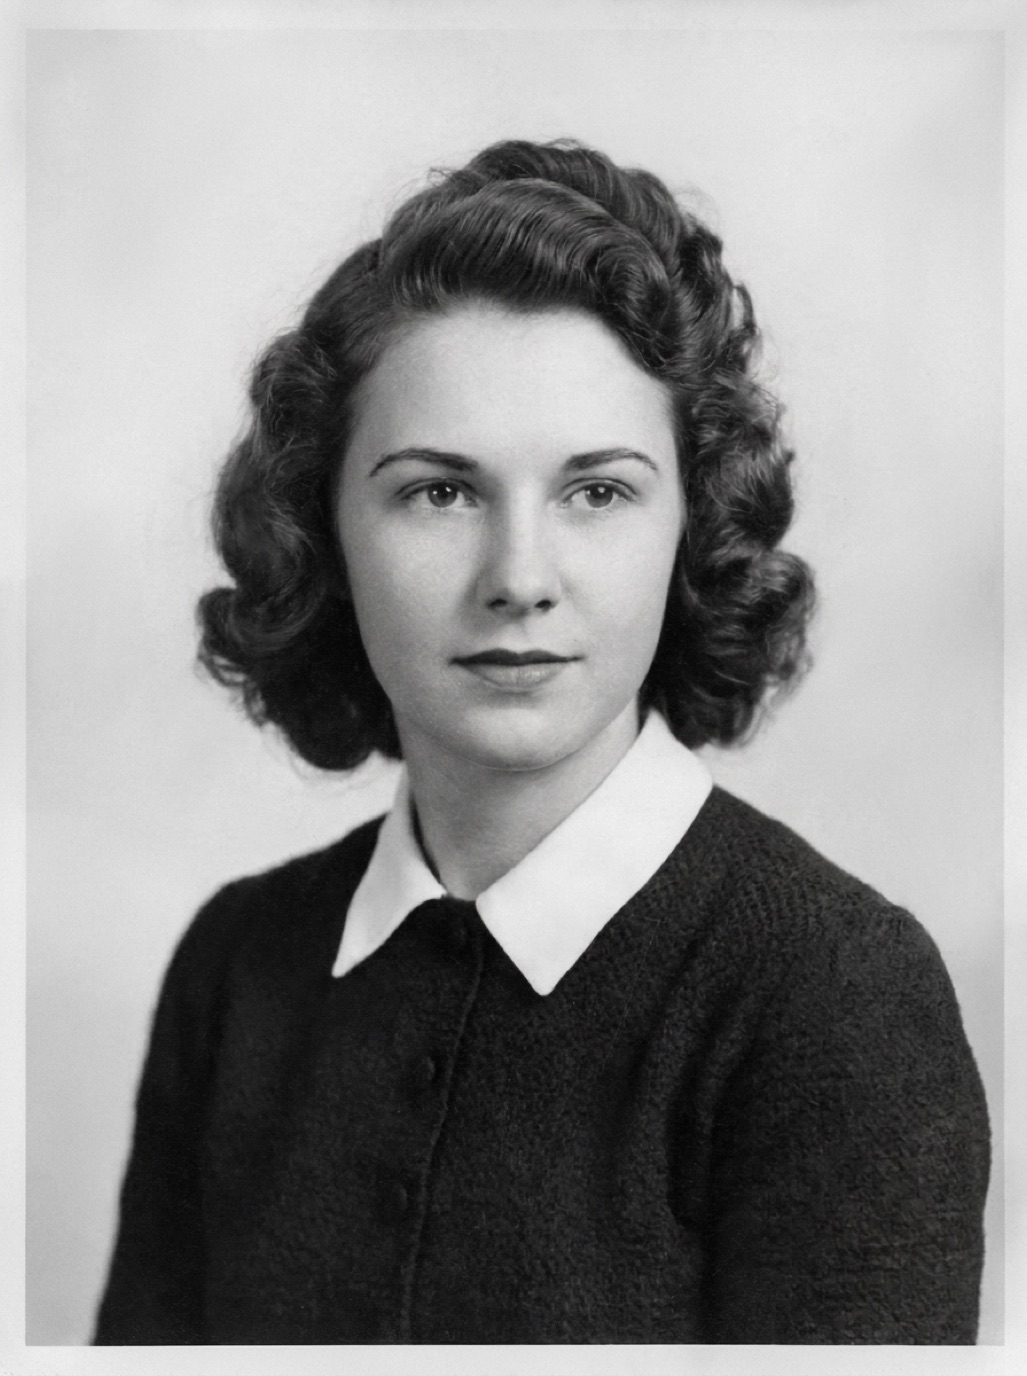
The quality of your scan sets the ceiling for everything that follows: restoration, colorization, printing and sharing. A careful scan takes only a little longer than a careless one, and it makes a big difference.
Prepare the photos
- Wash and dry your hands, or wear cotton/nitrile gloves.
- Brush off dust gently with a soft brush.
- Remove photos from frames and sleeves if it's safe (prints stuck to glass need special care: see separating photos stuck together).
- Flatten curled prints under books for a few days before scanning.
- Note any writing on the back; scan the back too.
Method 1: Flatbed scanner
A flatbed gives the most consistent, glare-free results.
- Clean the glass with a microfiber cloth.
- Place photos face down, square to the edge. You can scan several at once and crop later.
- Settings:
- Color mode: 24-bit color (even for black and white photos, which often have tones worth keeping) or 48-bit for archival masters. - Resolution: 600 dpi for standard prints, 1200 dpi for small ones (see best DPI for scanning photos). - Turn off automatic sharpening, descreening and "color restoration" for archival scans. You can restore later with better tools.
- Save as high-quality JPEG or TIFF (see TIFF vs JPEG).
Method 2: Phone camera
Phones are fast and, done right, produce excellent captures.
- Light: soft daylight from a window, no direct sun. Turn off overhead lights.
- Surface: dark, matte cloth or card under the photo.
- Position: phone parallel to the print, centered, filling the frame. A stand or a stack of books helps.
- Focus and exposure: tap on a face; slide exposure down slightly if highlights look blown out.
- No flash.
- Shoot twice and keep the sharpest.
Full technique: scanning photos with iPhone and photographing prints without glare.
Scanning apps
Dedicated scanning apps detect photo edges, correct perspective and reduce glare by combining several shots. They're useful for albums. You can also capture directly from a restoration app: Refixo has a built-in camera, so you can capture a print and restore it immediately.
Check each scan
- Is it sharp at 100% zoom?
- Are there reflections or shadows?
- Are edges straight and is anything cut off?
- Is dust visible? (see removing dust spots from scans)
After scanning
- Name and organize files (see labeling old photos).
- Back up (see backing up family photos).
- Restore damaged photos (see how to restore old photos with AI).
Frequently asked questions
Is a phone good enough to scan old photos?
Yes, for most family prints, if you use soft light, avoid glare and keep the phone parallel. Use a flatbed for small prints and enlargements.
Should I scan black and white photos in color?
Yes. Color mode captures tones, toning and stains more faithfully, and gives restoration more information.
Should I use the scanner's automatic restoration?
For archival scans, turn it off and keep a clean master. Restore a copy afterwards.
Do I need to remove photos from albums to scan them?
Not always. If removal risks damage, scan the whole page and crop.
Restore it in seconds
Bring your old photos back to life
Refixo's AI removes scratches, tears and stains, sharpens faces and colorizes black & white photos in seconds. Free to download on iPhone and iPad, with a 3-day free trial.
Download on theApp Store