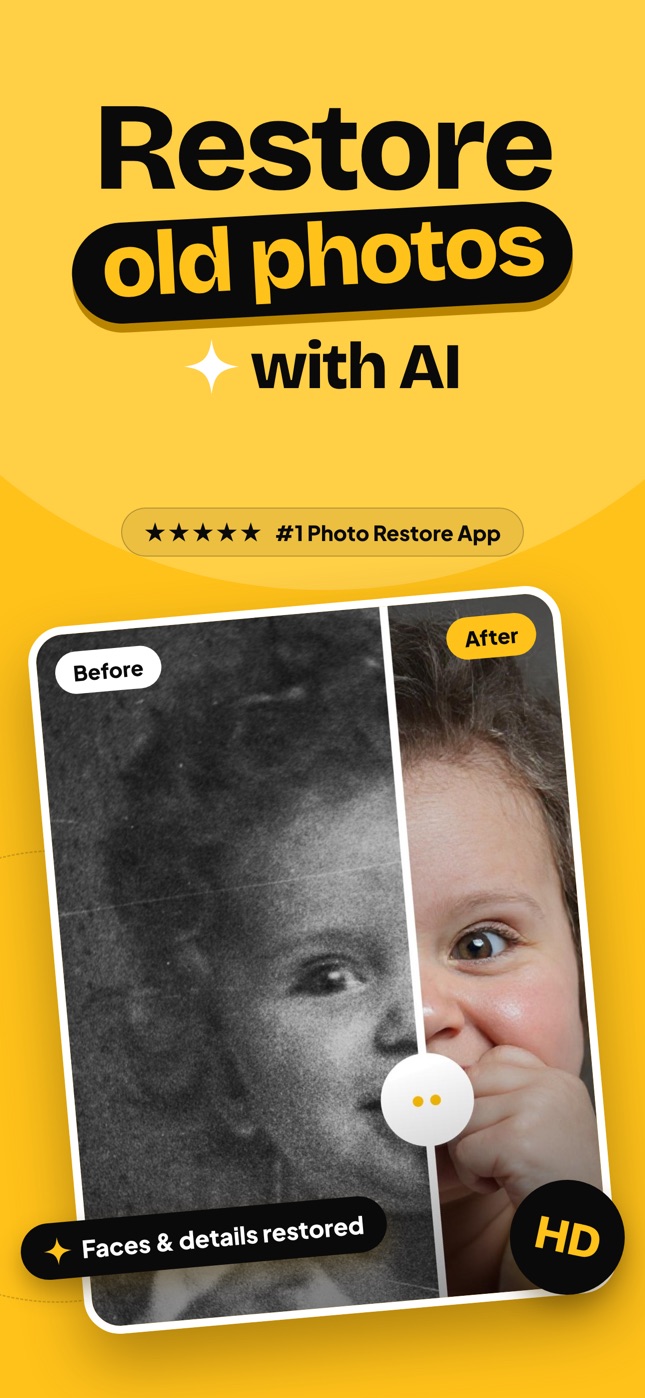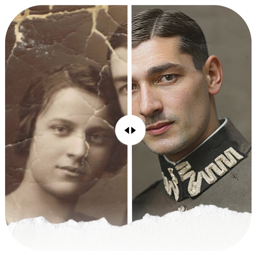
How to Remove Scratches from Old Photos (AI and Manual Methods)
Remove scratches, dust and specks from old photos: why scratches appear, the fastest AI method, manual healing-brush technique and how to avoid new ones.
By Ayoub Farid · · 3 min read
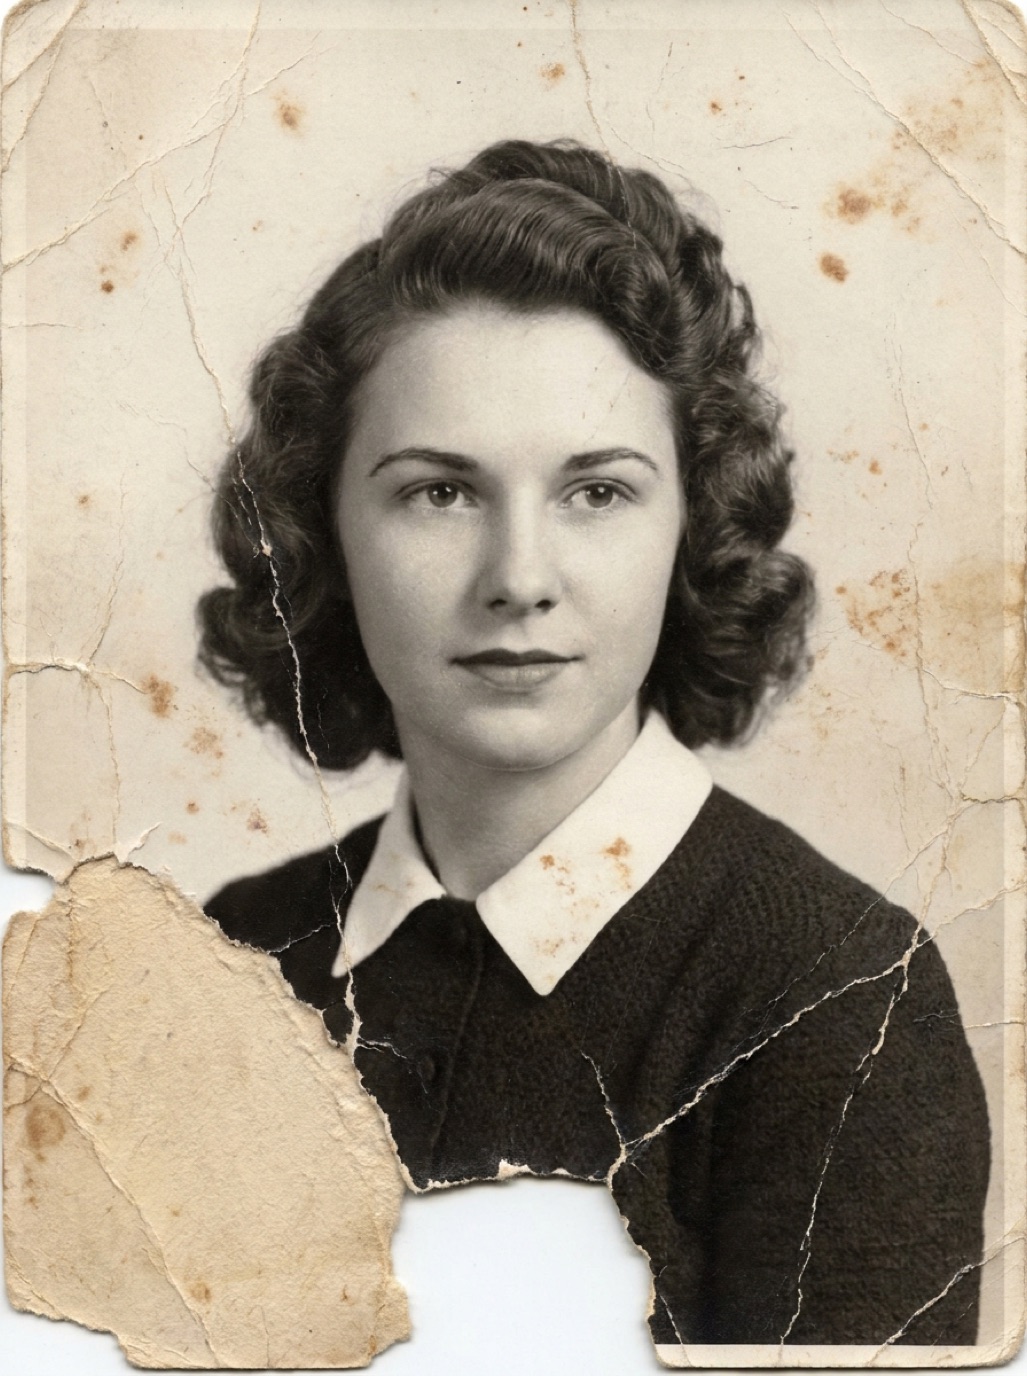
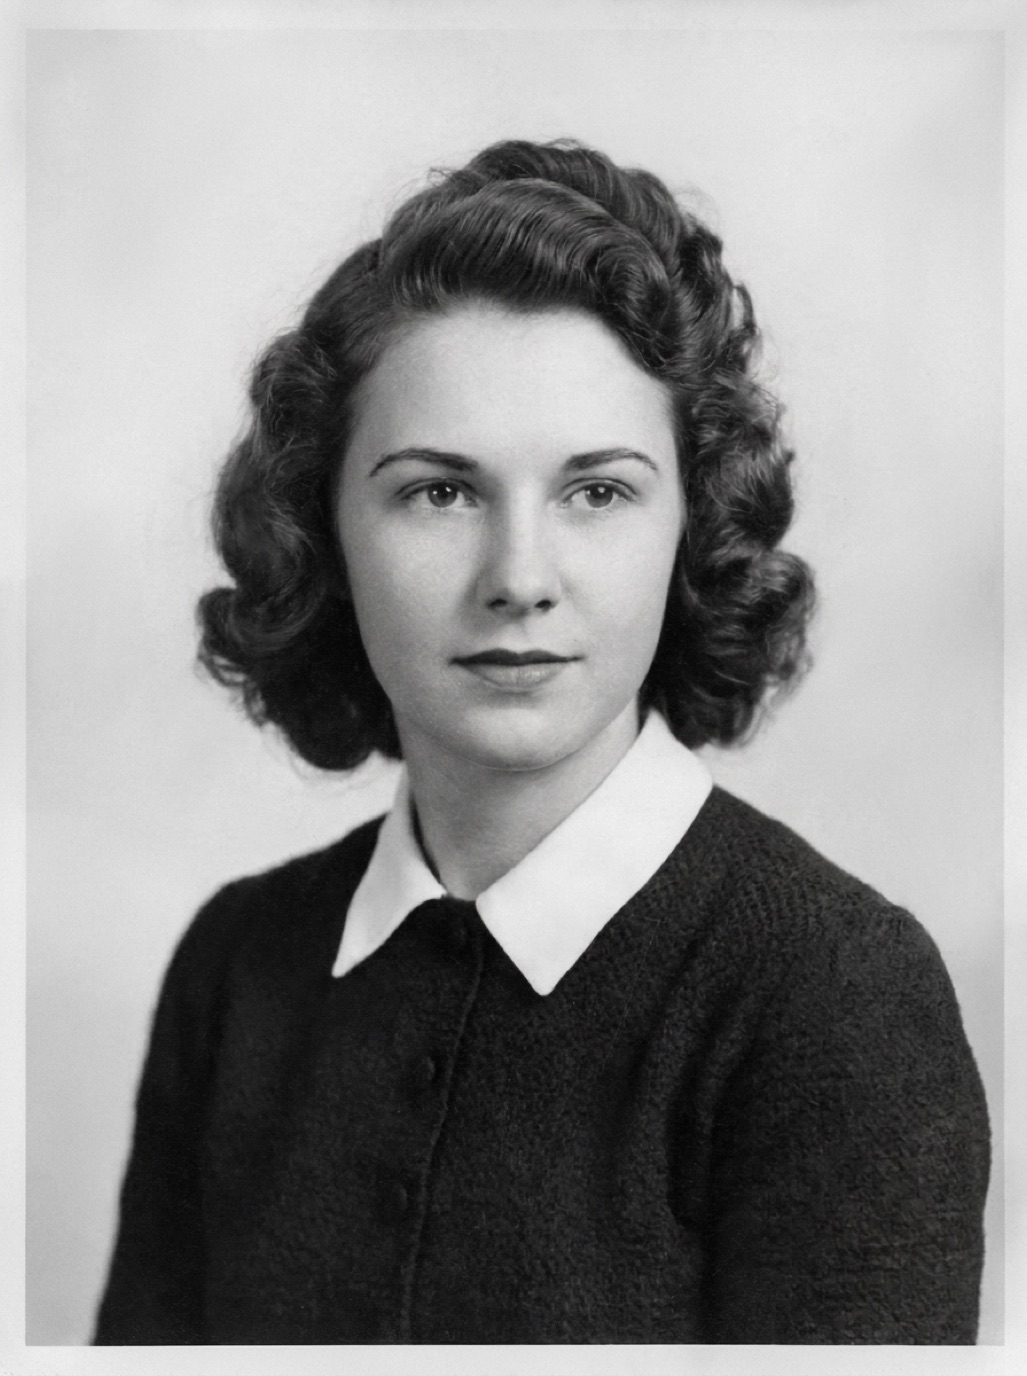
Scratches are the most common damage on old prints and negatives. They show up as thin white lines (where the emulsion has been scraped away) or dark lines (dirt or scratches on the negative that printed through). Dust adds dozens of tiny specks on top. The good news: scratches are also among the easiest kinds of damage to remove convincingly.
Why white and black scratches look different
- White lines on a print usually mean the image layer was physically scratched, revealing the white paper underneath.
- Black lines or dots often come from scratches or dust on the negative, which blocked light during printing.
- Hairline marks across the whole photo may be from a dirty scanner glass, not the print. Clean the glass and rescan before repairing anything.
Method 1: AI scratch removal (fastest)
AI models have learned to tell scratches from real lines such as hair, wrinkles or the edge of a collar. In Refixo:
- Capture or choose the photo.
- Tap Restore.
- Compare with the slider.
Scratches, dust and noise are removed along with other damage like fading, and faces are enhanced at the same time. This takes seconds, compared with an hour or more by hand on a heavily scratched print.
Method 2: Manual removal in an editor
If you prefer full control, use a desktop editor such as Photoshop or GIMP:
- Duplicate the layer to keep the original.
- Zoom to 100–200%.
- Spot healing brush for small specks: set the brush slightly larger than the speck and click.
- Healing brush or clone stamp for long scratches: sample clean texture next to the scratch (Alt/Option-click), then paint along it in short strokes.
- Follow the texture direction: hair, fabric folds and wood grain must continue naturally.
- Check at 100% and look for repeating patterns, a sign of over-cloning.
Tip: the "Dust & Scratches" filter blurs fine detail. If you use it, apply it on a duplicate layer and paint it back in only where needed.
Scratches across faces
Scratches through eyes, lips or skin need the most care. Manually, use a small brush and sample from the same feature (the other eye, nearby skin). With AI, check the result closely against the original. See restoring damaged faces in photos.
Prevent new scratches
- Store prints in archival sleeves, not loose in a box (see how to store old photos).
- Never stack unprotected prints face to face.
- Handle by the edges (see how to handle old photos).
- Don't wipe prints with paper towels or clothing.
Related damage
Scratches often come with dust spots from scanning (see removing dust spots from scanned photos) and with cracks in the emulsion (see fixing cracked photos).
Frequently asked questions
Can scratches be removed from the physical print?
Not safely at home. Physical scratches remove the image layer itself. Digitize the photo and remove the scratches from the digital copy.
Why does my scan show scratches the print doesn't have?
Dust or scratches on the scanner glass. Clean the glass with a microfiber cloth and rescan.
Will AI remove a scratch through someone's eye?
Usually, yes. AI reconstructs the eye from surrounding information. Always compare with the original to make sure the expression is unchanged.
What's the fastest way to remove dust from many scans?
AI restoration processes each photo in seconds and removes dust, scratches and noise together.
Restore it in seconds
Bring your old photos back to life
Refixo's AI removes scratches, tears and stains, sharpens faces and colorizes black & white photos in seconds. Free to download on iPhone and iPad, with a 3-day free trial.
Download on theApp Store